The Best Fluffy Pancakes recipe you will fall in love with. Full of tips and tricks to help you make the best pancakes.
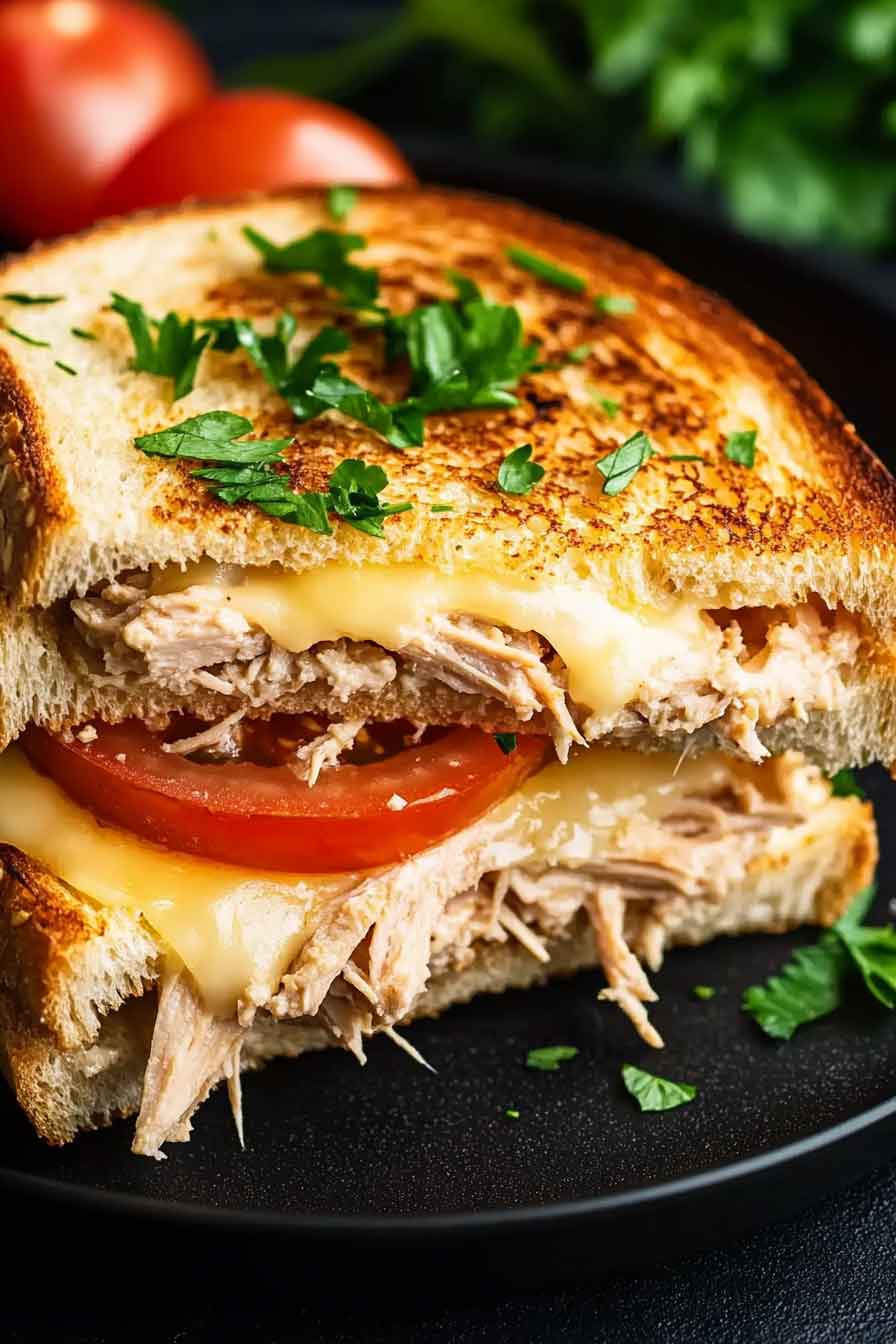
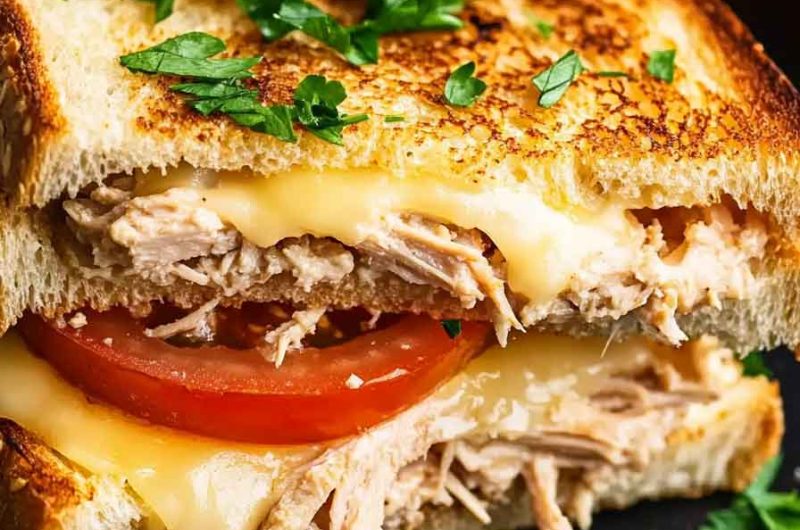
Oh wow, have you ever bitten into a crispy, cheesy tuna melt and thought, this is pure comfort food? I know I have! It’s warm, melty, and packed with flavor—just the kind of easy meal that makes you feel all cozy inside.
The best part? It takes just a few simple ingredients. Bread, tuna, cheese, and a little magic—boom, you’ve got lunch (or dinner) ready in minutes!
Trust me, once you make this, you’ll want it again and again. That golden, toasty bread with gooey, cheesy tuna filling? Absolutely irresistible.
Let’s not waste any time. Grab your ingredients, and let’s make the best tuna melt ever!
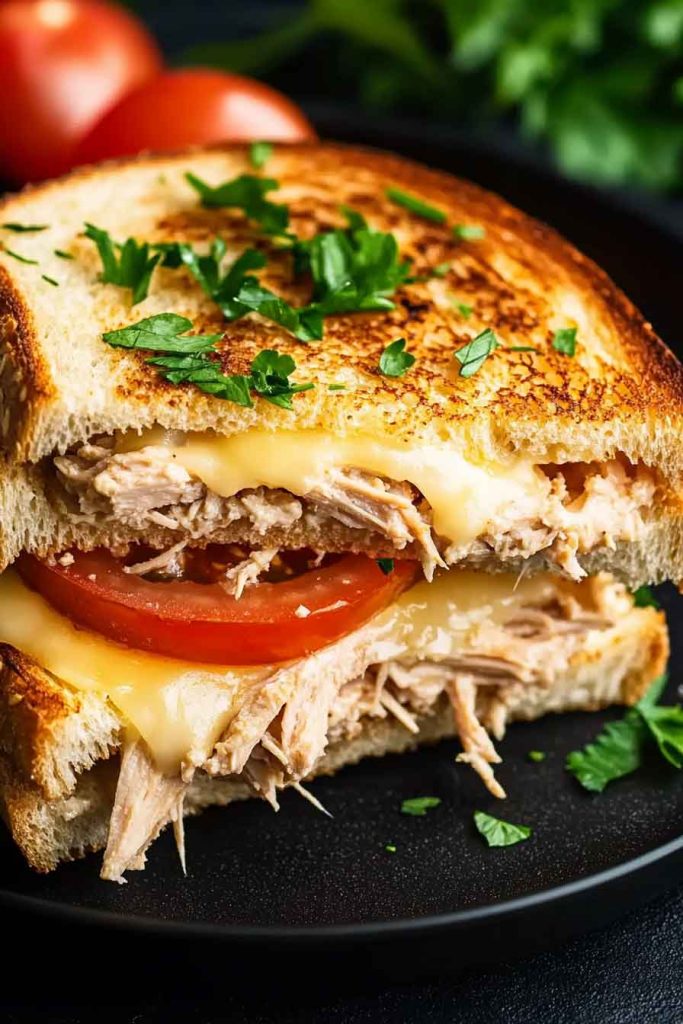
Why You’ll Love This Recipe
- Crispy and Gooey Perfection: A golden, buttery crunch with rich, melted cheese.
- Quick and Easy: Ready in under 20 minutes—perfect for busy days.
- Budget-Friendly: Uses pantry staples for an affordable yet filling meal.
- Customizable: Add different cheeses, seasonings, or toppings for variety.
- Great for Lunch or Dinner: Serve with soup, fries, or a side salad for a complete meal.
What You Need to Know Before You Start
Prep & Cook Time:
- Prep Time: 10 minutes
- Cook Time: 8-10 minutes
- Total Time: 18-20 minutes
Servings:
This recipe makes 4 sandwiches—perfect for a family meal or meal prepping for the week.
Difficulty Level:
Beginner-friendly—no fancy skills needed, just simple mixing and grilling.
Required Kitchen Tools
To make the best tuna melt, gather these kitchen essentials:
- Mixing Bowl: For combining the tuna filling.
- Fork or Spoon: To mix and mash the tuna evenly.
- Bread Knife: To slice the bread, if needed.
- Non-Stick Skillet or Griddle: For grilling the sandwich to golden perfection.
- Spatula: To flip the sandwiches without breaking them apart.
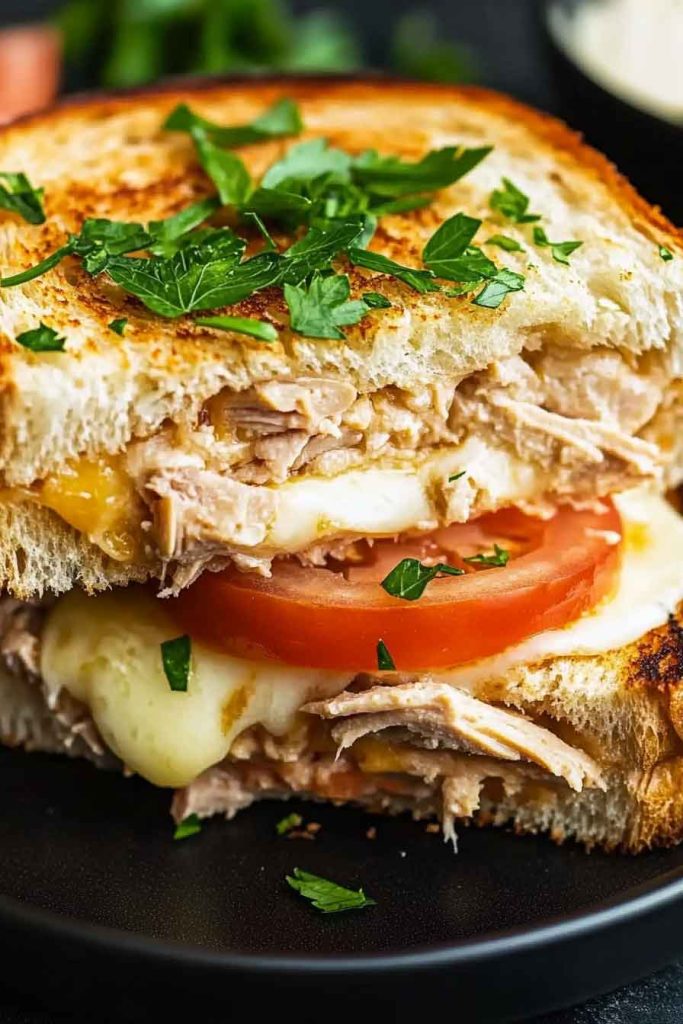
Ingredients for the Best Tuna Melt
Here’s everything you’ll need to make this crispy, cheesy, and flavorful sandwich:
For the Tuna Filling:
- 2 (5-ounce) cans tuna, drained – Use solid white or chunk light tuna for the best texture.
- 1/3 cup mayonnaise – For creaminess; Greek yogurt can be used as a lighter alternative.
- 1 tablespoon Dijon mustard – Adds a tangy depth of flavor.
- 1 tablespoon lemon juice – Brightens up the filling.
- 1/4 teaspoon salt – Enhances the taste.
- 1/4 teaspoon black pepper – Adds a slight kick.
- 1/4 teaspoon garlic powder – Optional, but adds a hint of savory flavor.
- 1/4 teaspoon paprika – Adds a mild smokiness.
- 1/3 cup celery, finely chopped – For crunch and freshness.
- 1/4 cup red onion, finely diced – Gives a mild, sweet flavor.
- 2 tablespoons fresh parsley, chopped – Adds a fresh, herby touch.
For the Sandwich:
- 8 slices of bread – Use sourdough, whole wheat, or your favorite bread.
- 4 tablespoons butter, softened – For spreading on the bread to achieve a crispy, golden crust.
- 4 slices cheddar cheese – Melts beautifully for a rich, gooey texture.
- 4 slices mozzarella cheese – Adds a creamy, stretchy texture.
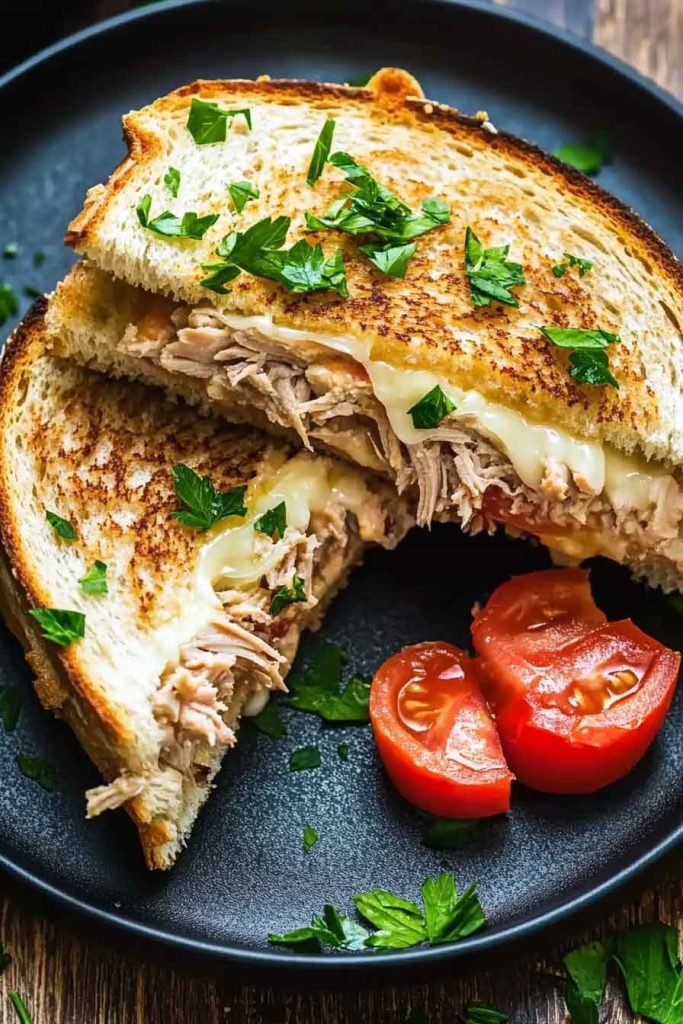
How to Make a Tuna Melt (Step-by-Step Instructions)
Follow these simple steps to achieve the perfectly crispy, cheesy tuna melt with a rich, flavorful filling.
Step 1: Prepare the Tuna Mixture
- Drain the tuna completely and transfer it to a mixing bowl. Use a fork to break it apart into smaller flakes.
- Add mayonnaise, Dijon mustard, lemon juice, salt, pepper, garlic powder, and paprika. Mix well until all the seasonings are evenly incorporated.
- Stir in the chopped celery, red onion, and fresh parsley. This adds a delicious crunch and a fresh flavor balance to the creamy tuna.
- Taste the mixture and adjust the seasoning if needed. Set it aside.
Step 2: Assemble the Sandwiches
- Lay out 8 slices of bread on a flat surface.
- Spread butter evenly on one side of each slice. The buttered side will be grilled to golden perfection.
- Flip 4 slices over (so the unbuttered side faces up).
- Place one slice of cheddar cheese on each of these slices.
- Divide the tuna mixture evenly onto the cheese layer.
- Add one slice of mozzarella cheese on top of the tuna mixture.
- Cover with the remaining 4 slices of bread, ensuring the buttered side is facing up.
Step 3: Grill the Tuna Melt
Stovetop Method:
- Heat a non-stick skillet or griddle over medium-low heat.
- Place the sandwiches onto the skillet. Cook for 3-4 minutes on one side, pressing gently with a spatula.
- Flip carefully and cook for another 3-4 minutes until the bread is golden brown and crispy, and the cheese is fully melted.
Oven Method (for an Open-Faced Tuna Melt):
- Preheat the oven to 375°F (190°C).
- Place the buttered bread slices on a baking sheet and toast for 5 minutes until lightly golden.
- Remove from the oven and assemble the sandwich as directed.
- Return to the oven and bake for another 6-8 minutes, or until the cheese is fully melted.
How to Serve a Tuna Melt
Tuna melts are versatile and pair well with a variety of sides. Here are some delicious ways to enjoy them:
Best Side Dishes for a Tuna Melt
- Classic Tomato Soup: The warm, slightly tangy soup perfectly complements the cheesy richness of the sandwich.
- Crispy French Fries: A simple side for a diner-style meal.
- Coleslaw: Adds a refreshing crunch and balances the creaminess of the sandwich.
- Pickles: The tanginess cuts through the richness of the melted cheese.
- Fresh Green Salad: Lightens up the meal with crisp greens and a zesty dressing.
- Potato Chips: A crunchy, effortless side option.
Ways to Customize Your Tuna Melt
Want to put your own spin on this classic sandwich? Try these delicious variations:
Cheese Variations
- Swap cheddar and mozzarella for Swiss, provolone, gouda, or Monterey Jack for a different flavor profile.
- Use pepper jack for a spicy kick.
Bread Options
- Sourdough, rye, ciabatta, or whole wheat bread all work well.
- Try English muffins or bagels for a unique twist.
Protein Upgrades
- Add crispy bacon for extra crunch.
- Use smoked salmon for a gourmet touch.
Extra Add-Ins
- Mix in chopped pickles, capers, or olives for extra tanginess.
- Add a sliced tomato before grilling for juiciness.
- Sprinkle in some chopped jalapeños for a bit of heat.

How to Store and Reheat Tuna Melts
Storing Leftovers
- Refrigerate: Wrap any leftover tuna melt in foil or an airtight container and store it in the fridge for up to 2 days.
- Freezing: While freezing isn’t ideal for a cooked tuna melt, you can freeze the tuna mixture for up to 3 months in a freezer-safe bag. Thaw overnight in the fridge before using.
Reheating Instructions
To keep your tuna melt crispy and melty, follow these reheating methods:
- Oven: Preheat to 350°F (175°C) and bake for 8-10 minutes until warmed through.
- Skillet: Reheat over medium-low heat for 3-4 minutes per side.
- Air Fryer: Heat at 350°F (175°C) for 4-5 minutes.
- Microwave (not recommended): If necessary, use 30-second bursts, but the bread may become soggy.
Tips and Tricks for the Best Tuna Melt
✔ Use high-quality tuna: Solid white albacore has a firmer texture and better flavor than chunk light tuna.
✔ Drain the tuna well: Excess moisture can make the sandwich soggy.
✔ Butter the bread evenly: This ensures an even golden-brown crispiness when grilling.
✔ Cook over medium-low heat: This allows the cheese to melt without burning the bread.
✔ Let the sandwich rest before slicing: This prevents the cheese from oozing out too quickly.
Nutrition Information
Here’s the estimated nutrition breakdown per 1 tuna melt sandwich:
| Nutrient | Amount per serving |
|---|---|
| Calories | 470 kcal |
| Protein | 32g |
| Carbohydrates | 38g |
| Fat | 22g |
| Saturated Fat | 10g |
| Cholesterol | 65mg |
| Sodium | 780mg |
| Fiber | 3g |
| Sugar | 4g |
Note: Nutritional values may vary depending on ingredient brands and portion sizes.
Tuna Melt FAQs
Can I make a tuna melt without mayonnaise?
Yes! Substitute Greek yogurt, mashed avocado, or hummus for a healthier, creamy alternative.
What’s the best cheese for a tuna melt?
Cheddar and mozzarella are classic, but Swiss, provolone, or gouda also work well.
Can I make a tuna melt in the air fryer?
Yes! Assemble the sandwich and air fry at 370°F (190°C) for 5-7 minutes, flipping halfway.
Is this recipe good for meal prep?
Yes! Make the tuna mixture ahead of time and store it in the fridge for up to 3 days. Assemble and grill when ready to eat.
Tuna Melt Recipe
Course: Uncategorized4
sandwiches10
minutes8
minutes470
kcalIngredients
- For the Tuna Filling:
2 (5-ounce) cans tuna, drained
1/3 cup mayonnaise (or Greek yogurt)
1 tablespoon Dijon mustard
1 tablespoon lemon juice
1/4 teaspoon salt
1/4 teaspoon black pepper
1/4 teaspoon garlic powder (optional)
1/4 teaspoon paprika
1/3 cup celery, finely chopped
1/4 cup red onion, finely diced
2 tablespoons fresh parsley, chopped
- For the Sandwich:
8 slices of bread (sourdough, rye, or whole wheat)
4 tablespoons butter, softened
4 slices cheddar cheese
4 slices mozzarella cheese
Directions
- Make the Tuna Mixture
In a bowl, mix together drained tuna, mayonnaise, Dijon mustard, lemon juice, salt, pepper, garlic powder, and paprika.
Stir in celery, red onion, and fresh parsley. Set aside. - Assemble the Sandwiches
Butter one side of each bread slice.
Place cheddar cheese on 4 slices of bread (unbuttered side).
Add tuna mixture evenly over the cheese.
Place mozzarella cheese on top of the tuna mixture.
Cover with the remaining 4 bread slices, buttered side facing up. - Grill the Sandwiches
Stovetop Method:
Heat a non-stick skillet over medium-low heat.
Cook the sandwiches for 3-4 minutes per side, pressing gently until golden brown and the cheese melts. - Oven Method (Open-Faced Version):
Preheat oven to 375°F (190°C).
Toast bread slices for 5 minutes.
Assemble the sandwich and bake for another 6-8 minutes, or until the cheese is melted. - Serving Suggestions
Serve with tomato soup, coleslaw, or pickles for a classic diner-style meal. - Storage & Reheating
Store leftovers in the fridge for up to 2 days.
Reheat in the oven (350°F for 8 minutes) or air fryer (370°F for 5 minutes) for the best texture.
Conclusion
The tuna melt is a simple yet incredibly satisfying sandwich that’s easy to make, budget-friendly, and endlessly customizable. Whether you enjoy it as a quick lunch or a comforting dinner, this recipe delivers crispy, gooey, cheesy goodness in every bite. Try it today and pair it with your favorite side for the ultimate meal!

